reveal.js(0) - Hello world
最近覺得 PowerPoint 網頁版有很多限制,加上我也不想買 Powerpoint 所以開始尋找 PowerPoint 的替代方案。後來就發現 reveal.js,透過 HTML + CSS 可以實現更好的排版及對齊。另外搭配 D3.js 更是大幅強化 PowerPoint 的數據可視化能力。
1. Hello reveal.js:
使用 reveal.js 的方法很簡單,就是 Git clone 然後 npm run。
目前 reveal.js 似乎還沒有利用 command line 建立專案的方法。
$ git clone https://github.com/hakimel/reveal.js.git
$ cd reveal.js
$ npm install
$ npm start # 預設使用 port 8000
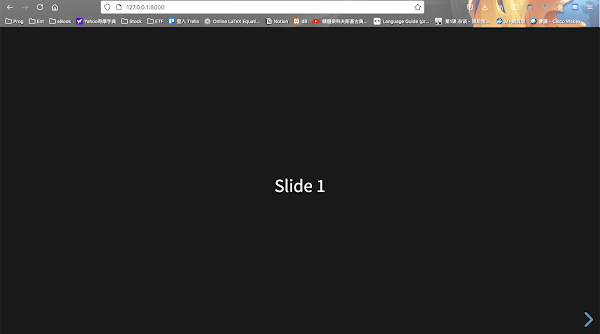
開啟 127.0.0.1:8000 就會看到投影片,下面有方向鍵可以控制投影片。
按下 Esc 後會顯示投影片的縮圖,我這邊已經加了一些投影片所以會有分支。
修改預設的 port。
npm start -- --port=8081
2. 專案架構:
reveal.js 專案架構如下:
.
├── CONTRIBUTING.md
├── LICENSE
├── README.md
├── css
├── demo.html
├── dist
├── examples
├── gulpfile.js
├── index.html
├── js
├── node_modules
├── package-lock.json
├── package.json
├── plugin
└── test
跟一般網頁專案架構類似 (其實它也真的是網頁XD),比較重要的資料夾及檔案有:
- css: 網頁配色
- js: reveal 的功能
- node_modules: 使用的套件
- index.html: 主頁面
3. 新增投影片:
編輯 index.html 可以新增投影片:
<div class="reveal">
  <div class="slides">
    <section>Slide 1</section>
    <section>Slide 2</section>
    <section>Slide 3</section>
    <section>
      <section>Vertical Slide 1</section>
      <section>Vertical Slide 2</section>
    </section>
  </div>
</div>
投影片放在 div.reveal > div.slides > section,每個 section 都代表一張投影片。
在一個 section 裡面包含多個 sections 時被包含的 sections 會形成垂直關係 (箭號由左右變成上下),可以形成多結局的投影片。
4. 新增事件:
幫 section 加入新的屬性,
<section data-state="pop-alert">Slide 2</section>
然後我們可以在 script 中監聽 pop-alert 事件:
Reveal.on( 'pop-alert', () => {
    alert("Hello pop")
} );


留言
張貼留言